
How to Resize Virtual Machine Hard Disks in Hyper-V 2012 R2( Edit is not available because checkpoints exist for this Virtual Machine) Print
- 0
How to Expand?
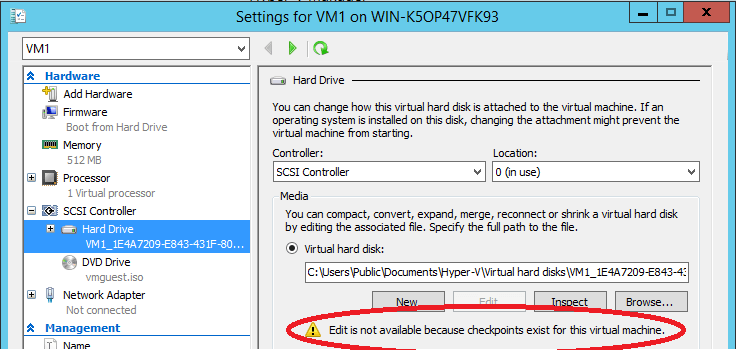
To expand, Right Click on the Virtual Machine and then click on “Settings”. Click on the Virtual Hard Drive you want to extend in the “Settings” page. Note: You cannot extend/compact a Virtual Machine hard drive if a snapshot exists. A warning message will be shown stating that “Edit is not available because checkpoints exist for this Virtual Machine”. This is also shown in the red circle of the below screenshot.
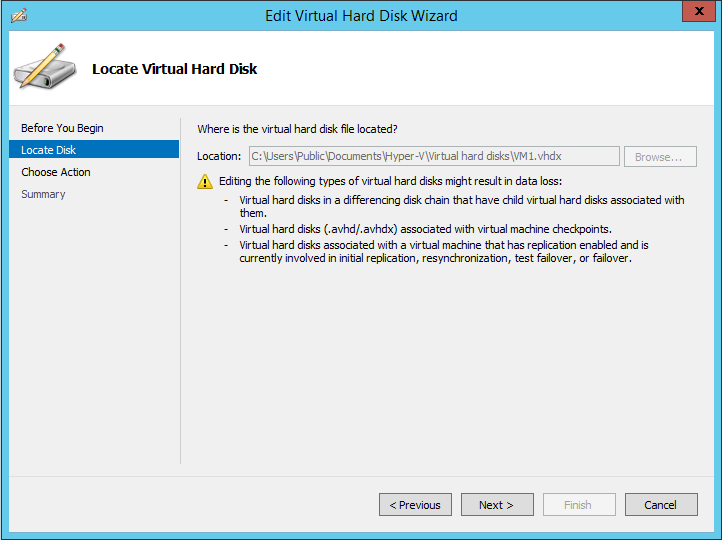
Next click on “Edit” button to launch the “Edit Virtual Hard Disk” wizard as shown below:
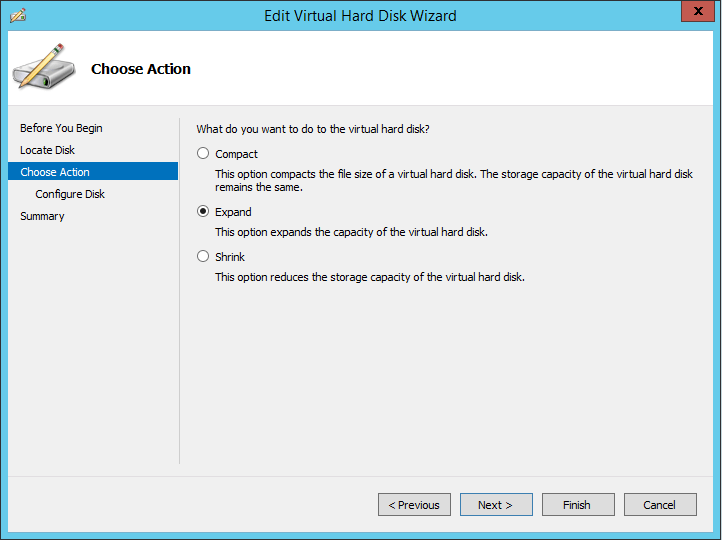
Click “Next” to select “Expand” action as shown below:
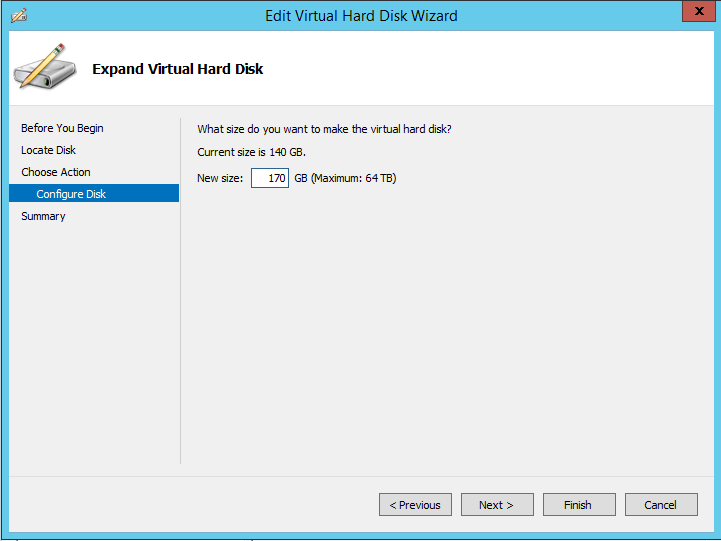
Specify the size of the virtual hard drive to expand and then click on Finish.
At this point, Virtual Machine hard disk size has been expanded, now you need to launch “Disk Manager” in Virtual Machine and then use the “Extend the Volume” wizard to make un-allocated space available to the Virtual Machine. When you open “Disk Manager”, you will see the expanded size as un-allocated space as shown in the below screenshot of the Virtual Machine:

Right Click on the volume you want to extend and then select “Extend Volume” wizard as shown in the below screenshot and then follow the on-screen steps to complete the process.

How to Shrink?
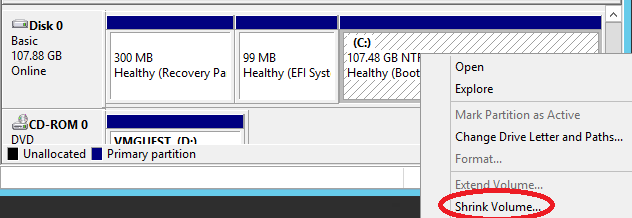
To shrink the storage capacity, you must first initiate the “shrink” action from within the Operating System of Virtual Machine using “Disk Manager”. Using the “Disk Manager”, Right Click on the volume you want to shrink and then select “Shrink Volume” action as shown in the below the screenshot:
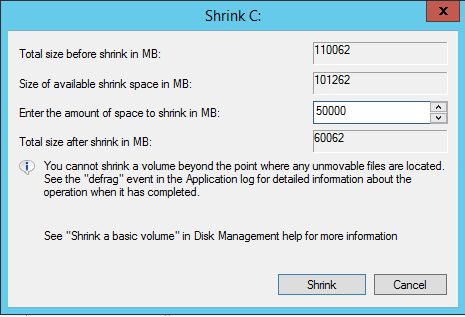
Note: “Extend Volume” action is available only if you have un-allocated space available in the Operating System. Next, specify the amount of space you want to shrink as shown below and then hit “Shrink” button:
Once shrunk from within the Operating System of Virtual Machine, initiate the final shrink action using the “Edit Virtual Machine” wizard. Click on “Edit” button on the Virtual Machine’s setting page to specify the new size for the virtual hard disk as shown in the below screenshot. “Edit Virtual Machine” wizard will not allow you to specify the new size value lesser than the size being used by the Operating System inside the Virtual Machine. As you can see in the below screenshot, the C: volume is about 58.6 GB in size and “Edit Virtual Hard Disk” wizard also specifies the minimum required size which is 60 GB. This is shown in the red circles in the below screenshots:

Once you have specified the size to shrink, click “Finish” button for VMWP.exeto process the change and reduce the size of the VHDX file on the Host storage.
Limitations
- Does not work on virtual hard disks using VHD format.
- The re-sizing feature does not work on Virtual Hard Disks which are attached to IDE Controllers.
- Does not work for Virtual Hard Disks which have snapshots/checkpoints associated.
- Expanding and Shrinking process is not visible to the Virtual Machine Operating System. You must take some extra steps.
- Once the virtual hard disk has been expanded, the extra space is shown as un-allocated in the Disk Manager in the Operating System of the Virtual Machine. You must make the extra space available to Virtual Machine by using the “Extend Volume Wizard” within the Disk Manager of the Virtual Machine.
- Shrinking reduces the storage capacity of the Virtual Hard Disk. If you want to shrink the size, you must use the “Disk Manager” in Operating System of the Virtual Machine. Finally, use the “Edit Virtual Hard Disk” wizard to reduce the size of the virtual hard disk.
Was this answer helpful?
Related Articles